These painted Easter eggs in stylish black-and-white designs are quick and easy to make yourself. The varied designs are all the more striking for being in only two colours. Whether it’s stripes, polka dots or a chic eyelash design, it’s the range of different patterns that give this special Easter decoration its appeal. There are no limits here on your imagination. Simple and complex designs will both work well together. Even the Easter Bunny will be egg-cited about this one!
What you will need
- STAEDTLER Lumocolor Permanent Universal Pen
- Blown white eggs
- Toothpicks
- White thread
- Scissors
Video Tutorial & Instructions
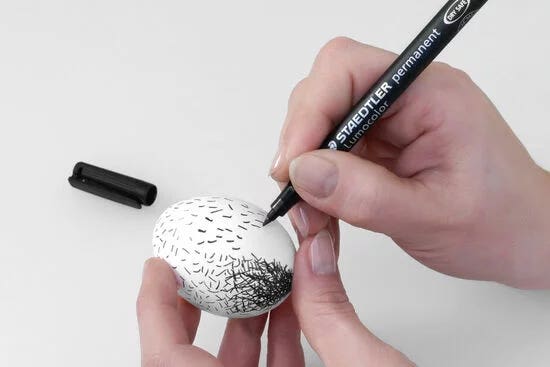
Step One:Pierce a hole at the top and bottom of each egg using a needle, enlarge the hole until it is around 3 mm in diameter and carefully blow out the egg. Rinse with water and dry off. Create your design using the Lumocolor permanent. The easiest designs are e.g. those made up of lots of little pen strokes. |
 |
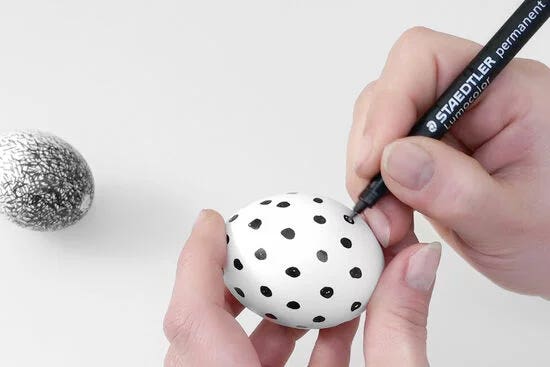
Step Two:But eggs with spots are pretty too. |
 |
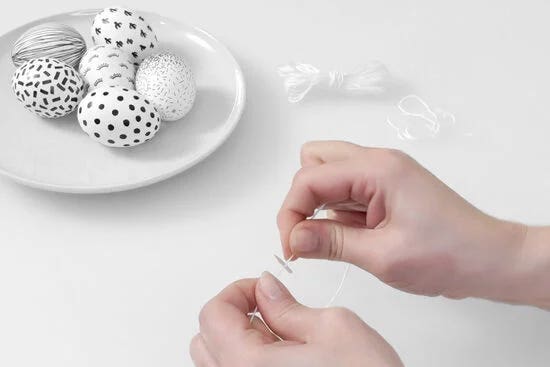
Step Three:Create a different design on each egg. You can use lines, checks, cacti, triangles – the possibilities are endless. Wherever your inspiration takes you, you’ll end up with a unique Easter decoration. |
 |
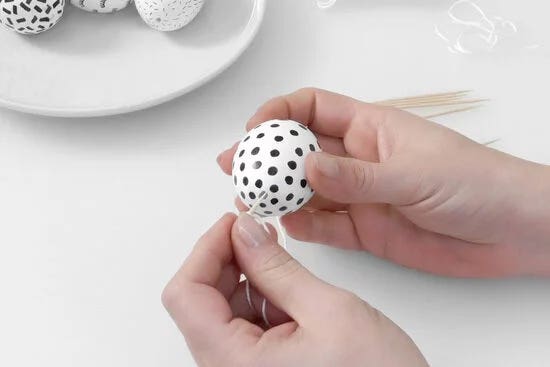
Step Four:To hang up your eggs, knot a piece of thread around half a toothpick and push it into the hole in the top of the egg. Happy Easter and have fun designing your eggs! |
 |
|
Decorating tip: As an alternative to hanging your eggs on branches, try simply laying them on some white straw or a lovely decorated plate. |
 |
Thanks to our friends at STAEDTLER for this project, originally published at: https://www.staedtler.com/au/en/discover/black-and-white-easter-eggs/
-
 STAEDTLER Lumocolor Permanent Universal PensFrom $4.50


