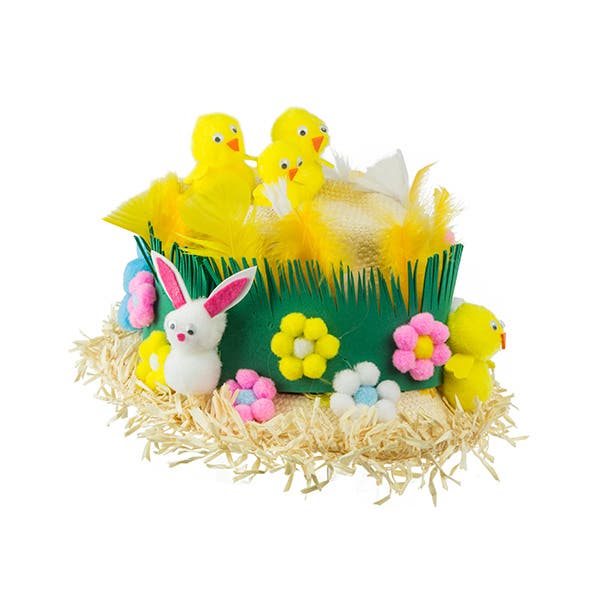
Putting together this cute Easter bonnet is easy and a great activity to do with your kids using on a few simple accessories
How to do it
- Take a straw hat (we purchased ours from a charity store).
- Take yellow and white feathers using a glue gun, attach to the body of the hat alternating colours.
- Next take green foam sheets and cut so you are left with two strips 300mm x 140mm. Using the scissors make cuts vertically along the length of sheet so it resembles blades of grass. Completely wrap around the body of the hat over the feathers so the blades of grass are at the top using the glue gun to secure. Cut off any excess.
- To make the bunnies, take two white pom poms and glue one on top of the other. Attach two joggle eyes and a pink nose made from a circle using a piece of pink scrap of felt. For the ears cut two ear shapes out of a white foam sheet and two smaller ear shapes out of pink felt. Glue onto the top of the white pom pom. Repeat so you have three bunnies.
- To make the chicks take two yellow pom poms and glue one on top of the other. Attach two joggle eyes and a nose made from a triangle using a piece of orange scrap of felt. Cut two wing shapes out of a yellow foam sheet and glue to each side of the chicks body just under the head. Repeat so you have five chicks.
- To make the flowers, select one small pom pom and glue six small pom poms in one contrasting colour around the pom pom. Repeat in different colour options. Set aside to dry.
- Using the glue gun stick the bunnies, chicks and flowers over the hat to decorate. Finish with glueing three chicks onto the top of the hat. Once dry the hat can be worn and enjoyed!
Featured Products
-
 EDUcraft Joggle Eyes$5.45
 -
 EDUcraft Pom Poms$8.75


