Level: Intermediate
Duration: 25 minutes
Our friends at Faber-Castell have put together a handy guide on handlettering! In this tutorial, you will learn about blocking out your page to plan your piece, sketching a rough draft within your guides, and finally inking them in order to create a beautiful piece of lettering art.
This tutorial uses the phrase ‘May All Your Wishes Come True’, perfect for adding to greeting cards or framed pieces for friends and loved ones. Working through this tutorial will help you discover techniques you can use to create many more pieces on your own!
What you will need
- Graphite Pencil – Find Pencils
- Faber-Castell Pitt Artist Pens
- Eraser – Find Erasers
- Ruler – Find Rulers
How to do it
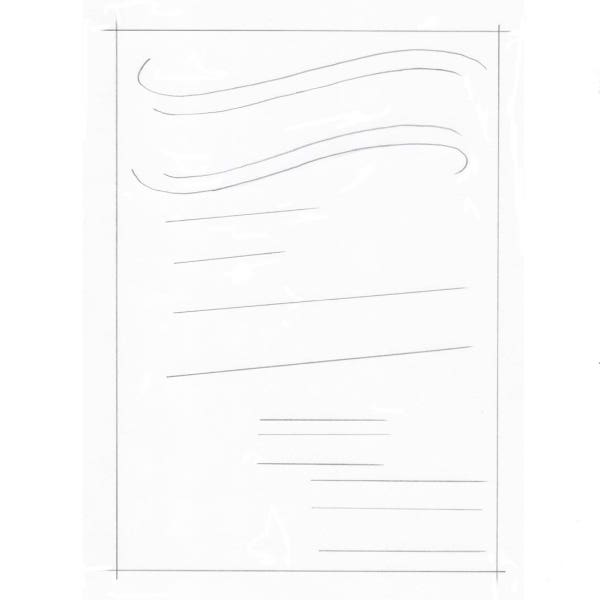
Step 1: Decide how you want your letters arranged on the page and block out borders and sections for each word using your graphite pencil. In this example, we have put a banner at the top for the first two words – sketching both the border of the banner and a guideline for where we want the words to sit. The remaining guidelines for words have been drawn using a ruler. You can draw these lines quite lightly to make them easier to erase – our example has them drawn thicker for the purposes of clarity in this tutorial!
Tip: when creating guidelines for cursive script, the base line and x-height guidelines are sufficient. For block letters, an auxiliary line for ascenders has also been drawn.
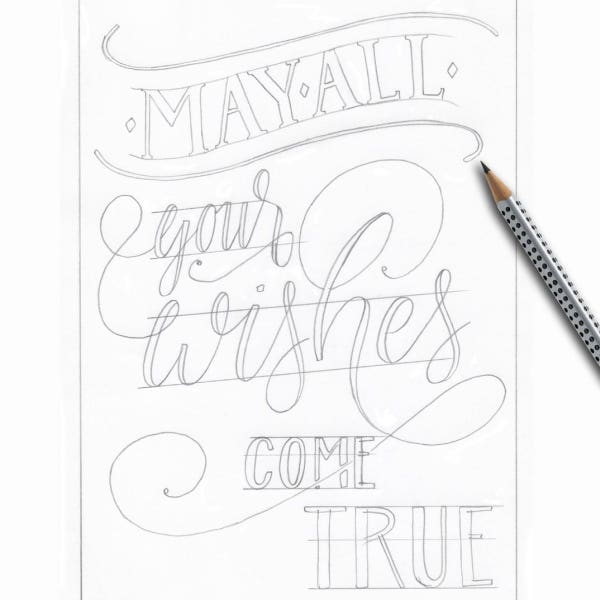
Step 2: Draw your preliminary sketch of the letters and cursive writing using your graphite pencil. We recommend also sketching in the thick and thin styles in your cursive sections to help visualise them and avoid mistakes later.
Tip: Thicken your lines anywhere you would make a downward stroke while writing, i.e. where you would draw your line from the top towards the bottom of the page.
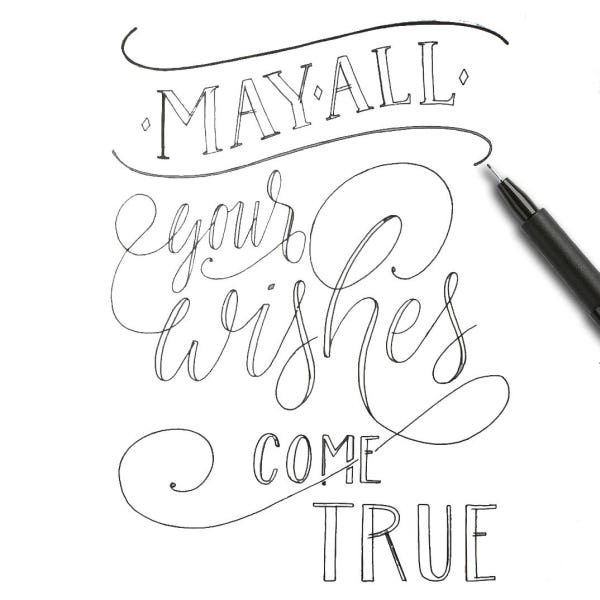
Step 3: Trace your writing on the paper using your Faber-Castell Pitt Artist Pen. This tutorial uses the ‘S’ (0.3mm) and XS (0.1mm) size pens for this. Take your time on this step to avoid mistakes!
Tip: start with the words and lines at the top of your paper, working your way down. This avoids any potential smudging of your ink while it dries.
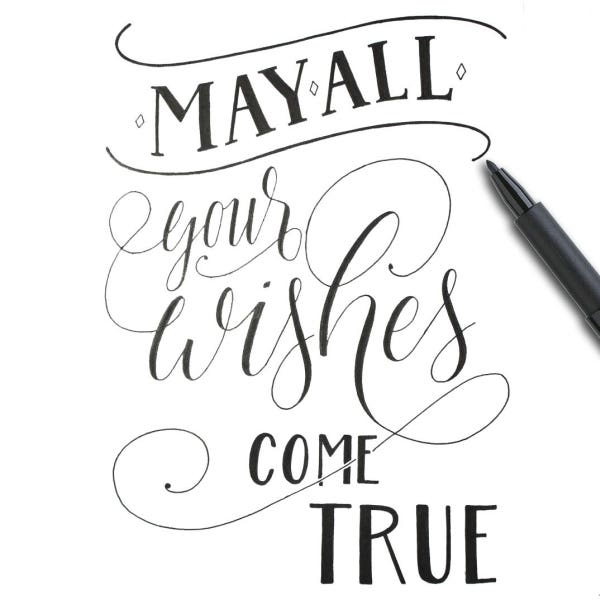
Step 4: Colour in your letters where you have made space for thicker strokes. You can use thicker Pitt Artist Pens for this such as the ‘F’ and ‘B’ size pens. Once again, take your time and concentrate on this step to achieve correct colouring of your thicker strokes.
Step 5: Once your ink has dried, erase the auxiliary and guidelines you drew in step one. Then, your piece is complete!
We’d love to see your Handlettering creations! Please share your art with us on either Facebook or Instagram using the hashtag #createwitheckersleys


