Become a Creative Rewards member to enjoy the benefits and start earning rewards! Find out more. Already have a card? Link it to your online account below
Paint the paper with the colours of your choice & set aside to dry.
Once dried, cut 1 x piece of paper into 4 equal squares.
Get one of your squares and fold it 3 times to make a small triangle.
With your pencil, draw a petal shape on the triangle.
Cut out the petal shape.
Cut a little bit off the corner of the petal (at the bottom) to create a hole in the middle of your flower.
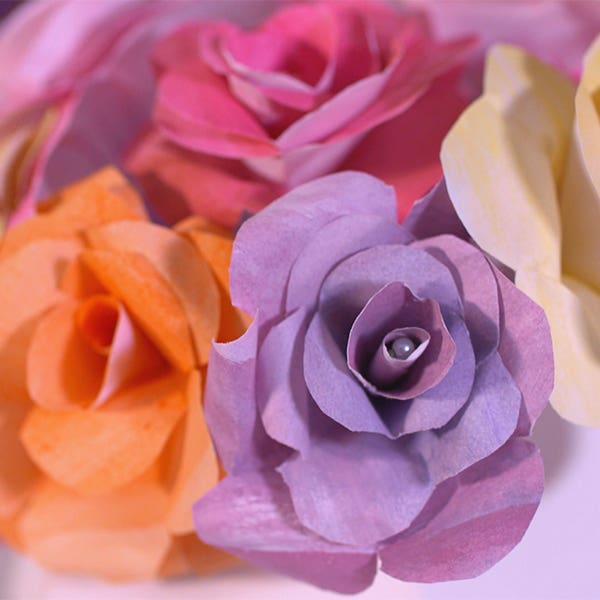
Unfold the piece of paper and you’ve got your first flower!
Repeat the steps again to create two more flowers.
By now you should have 3 flowers in total. With your first flower cut out one petal, with your second flower cut out two petals and with your third flower cut out 3 petals. Tip: Keep the petals you cut out to create smaller cones for later!
Grab your first flower and stick the first and last petal together, creating a cone shape. Repeat with the other two flowers and the petals you kept from earlier.
With your piece of wire, thread one bead into the centre of it and then fold it over - creating your stem.
Thread your stem through the middle of your cones, starting from smallest to largest. Be sure to make sure that the bead is in the middle of your layered cones. Tip: With each layer you add to the stem, fold out the edges of the petal slightly.
Cut a piece of sticky tape and wrap it around the end of your flower (to ensure it doesn’t slip down the stem)
Repeat the process and made as many flowers for your bunch as you’d like!
 Reeves Watercolour Pan Pocket SetSpecial Price $17.15 Regular Price $21.50
 Reeves Watercolour Paper PacksFrom $13.95
 Jasart Glue GunsFrom $23.75


