Felt is very inexpensive, available in a variety of colours, it can be cut to any shape and is perfect for using at various occasions.
Click here to download a PDF of this project
What you will need
- EDUcraft Felt Sheets
- Xyron 9” Creative Station
- Bakers Twine
- Scissors
How to do it
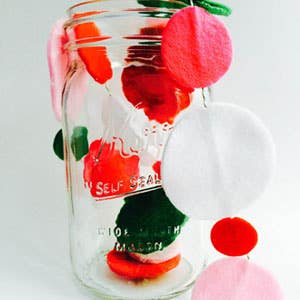
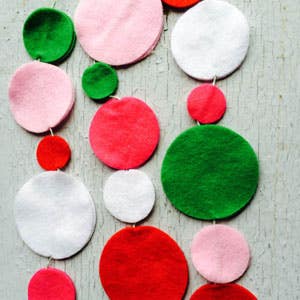
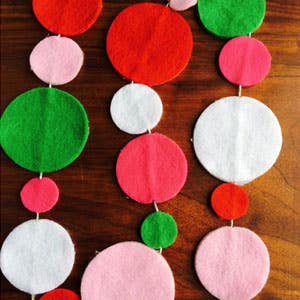
- Using the Felt sheets select your preferred colours and cut out a selection of shapes (in matching pairs).
- Run one pile of felt shapes through the Xyron 9” Creative Station. Peel off the clear film.
- Lay half of the felt shapes sticky side up on your work surface. Cut the required length of Bakers twine and lay across the middle of the shapes.
- Take the remaining shapes and lay on top of bakers twine sticky side down. Continue until the banner is complete.
Idea: Try varying the spacing or the shapes used to create different effects.
Featured Products
-
 Bakers TwinesFrom $8.50 $17.60
 -
 Xyron X900 Creative Station & CartridgesFrom $115.50


