Oil paint is a form of slow-drying paint consisting of particles of pigment suspended in a drying oil that forms a tough, coloured film on exposure to air. The drying oil is a vegetable oil, often made by crushing nuts or seeds. For paints, linseed oil is commonly used. Let's learn about oil painting for beginners or you may even find this useful if you are experienced!
Choosing the Right Paint: Essential Tips for Oil Painting Success
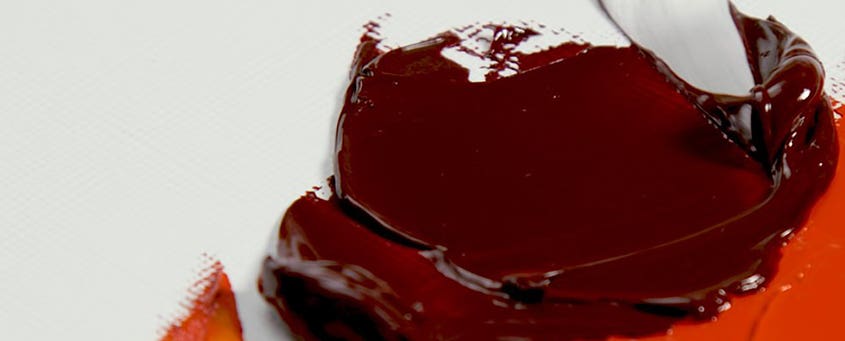
Selecting the right oil paints is crucial for achieving vibrant and long-lasting results. Oil paints come in various forms, but tubes are the most common choice for professional artists. When choosing oil paints, consider the following factors:
Paint Quality: Invest in paints made with high-quality pigments and binders. Professional-grade oil paints offer better colour intensity and permanence, ensuring your artwork remains vivid over time.
Consistency: Oil paints come in different consistencies, from thick to fluid. Choose paints with a consistency that suits your painting style and desired effects.
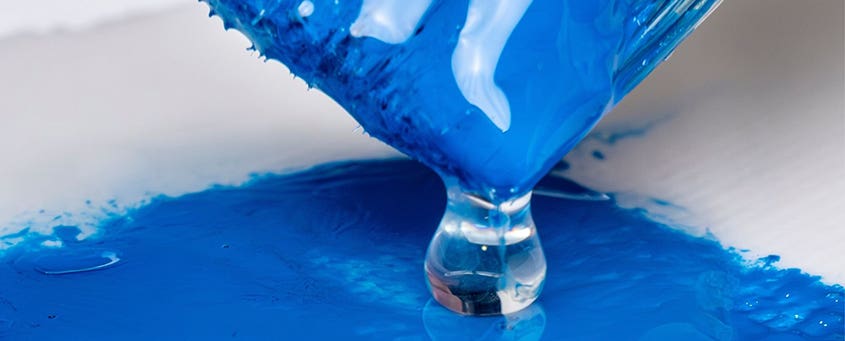
Colour Range: Start with a basic palette of primary colours (red, blue, and yellow) along with white and a few additional colours like green, purple, and brown. As you gain experience, you can expand your palette to include more shades and hues.
Brands: Reliable brands like Langridge, Winsor & Newton, and Reeves offer a wide range of colours and qualities suitable for both beginners and experienced artists.
Choosing the Right Brushes and Palette Knives: Precision and Performance in Oil Painting
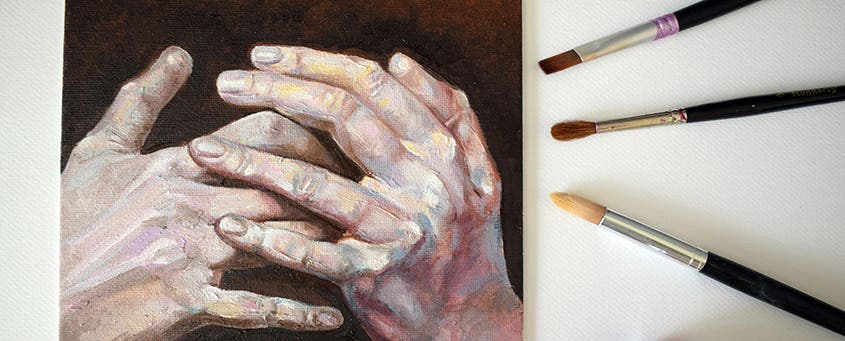
Brushes and palette knives are essential tools in oil painting, allowing artists to achieve a wide range of textures and effects. Different brush types serve specific purposes, and understanding their characteristics is key to selecting the right ones for your artwork. Here's what you need to consider:
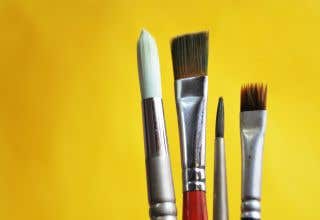
Brush Shapes: Oil painting brushes come in various shapes, including round, flat, filbert, and fan. Round brushes are versatile, suitable for fine lines and broad strokes. Flat brushes excel in covering larger areas and creating bold strokes, while filbert brushes offer a blend of both round and flat qualities. Fan brushes are ideal for creating textured effects and blending.
Brush Sizes: Brushes are labelled with size numbers, indicating their width and shape. It's beneficial to have a range of brush sizes in your collection, from small detail brushes to larger brushes for broader strokes and coverage.
Bristle Type: Oil painting brushes typically use natural bristles, such as hog hair or sable, or synthetic bristles. Natural bristle brushes hold more paint and provide a smoother application, while synthetic brushes are more durable and easier to clean. Consider your painting style and preferences when choosing between natural and synthetic bristles.
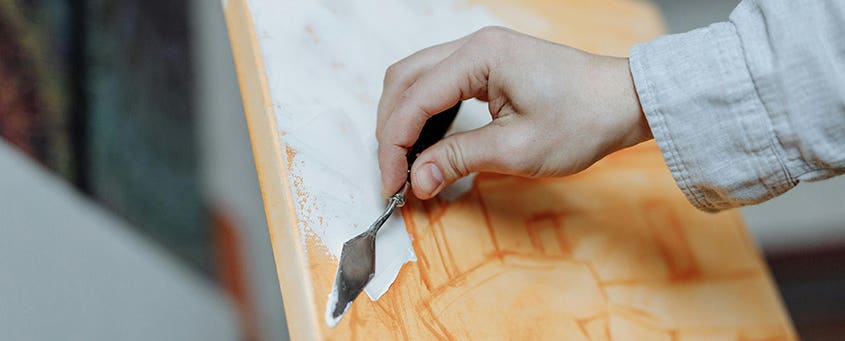
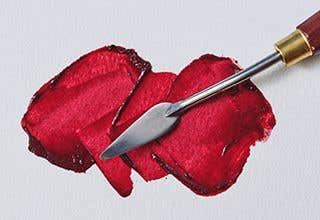
Palette Knives: In addition to brushes, palette knives are crucial for oil painting. They allow artists to mix colours on the palette and apply thick, textured layers of paint directly onto the canvas. Palette knives come in various shapes and sizes, enabling different techniques and effects, such as creating sharp lines, scraping away paint, or building up heavy impasto textures.
Brand and Quality: Invest in brushes from reputable brands known for their quality craftsmanship and durability. Brands like Winsor & Newton, Neef, and Da Vinci offer a wide selection of brushes designed for oil painting, ensuring consistent performance and longevity.
Whether you're a beginner or an experienced artist, Eckersley’s offers a curated selection of brush and palette knife sets tailored to various skill levels and budgets, providing you with the perfect tools to unleash your creativity on canvas.
Choosing the Right Surface: Texture and Quality in Oil Painting
Selecting the right surface is essential for achieving the desired effects in oil painting. Surfaces vary in texture and material, influencing the final appearance and longevity of your artwork. Here's what to consider when choosing a surface:
Surface Texture: Oil painting surfaces come in various textures, including canvas, wood panels, linen, and paper. Canvas surfaces offer options such as smooth, medium, and heavy textures, each suited to different painting styles. Smooth surfaces are ideal for detailed work, while heavier textures add depth and character. Wood panels provide a sturdy, smooth surface that is excellent for detailed brushwork and fine lines. Linen surfaces offer a luxurious texture and durability, providing a stable foundation for your artwork. Paper surfaces, such as heavyweight watercolour paper or specially designed oil painting paper, offer alternatives for sketching, studies, or experimental work.
Surface Quality: Invest in high-quality materials made from durable, archival-grade materials. Look for surfaces that are properly prepared and primed for oil painting, ensuring good paint adhesion and longevity.
Surface Size: Consider the size of your surface in relation to your painting style and subject matter. Larger surfaces offer more space for expressive brushwork and bold compositions, while smaller surfaces are suitable for detailed work and studies.
Brand and Quality: Choose surfaces from reputable brands known for their quality craftsmanship and materials. Brands like Ampersand, Jasart, and Arches offer a wide range of options, including canvas, wood panels, linen, and paper surfaces, tailored to different preferences and budgets.
Testing and Experimentation: Experiment with different surfaces to find what works best for your painting style and techniques. Many art supply stores offer samples or small surfaces for testing purposes, allowing you to explore various textures and finishes before committing to larger projects.
Exploring Mediums: Versatility and Creativity
Experimenting with different mediums in oil painting can unlock new possibilities and enhance your creative expression. Various mediums alter the characteristics of oil paint, affecting its transparency, drying time, texture, and sheen. Here's what to consider when exploring different mediums:
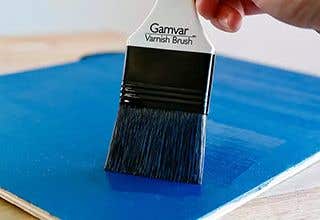
Medium Types: Oil painting mediums come in a variety of types, including gel mediums, drying oils, varnishes, and solvent-based mediums. Gel mediums add texture and body to paint, allowing for impasto techniques and creating interesting surface effects. Drying oils, such as linseed oil or walnut oil, alter the drying time and consistency of paint, while varnishes provide protection and a glossy finish. Solvent-based mediums thin paint for glazing or wash techniques and aid in brush cleaning.
Effects on Paint: Each medium produces unique effects on paint. Experiment with different mediums to see how they affect transparency, viscosity, and drying time. Some mediums enhance colour intensity, while others produce matte or glossy finishes. Understanding how each medium behaves allows you to achieve specific effects and control over your painting process.
Mixing and Application: Mix mediums with paint directly on your palette to achieve the desired consistency and effect. Apply mixed mediums with brushes, palette knives, or other tools to explore texture, layering, and blending techniques. Experiment with different application methods to discover new ways of working with oil paint.
Compatibility: Ensure compatibility between mediums and oil paints by using products from the same manufacturer or testing compatibility before applying to your artwork. Some mediums may alter drying times or affect adhesion, so it's essential to read product labels and follow manufacturer recommendations.
Exploring different mediums in oil painting opens up a world of creative possibilities, allowing you to customise your painting process and achieve unique results. Embrace experimentation and discovery as you explore the versatility of oil painting mediums to enhance your artistic practice. We cover this topic in even more detail in this article, check it out if you want to learn more about specific types of mediums.

Mastering Essential Techniques: Building a Strong Foundation
With the right materials in hand, it's time to delve into essential techniques that will lay the groundwork for your oil painting journey:
Underpainting: Begin by applying a thin layer of paint to establish the composition and tonal values of your artwork. This initial layer, known as the underpainting, provides a roadmap for subsequent layers of paint.
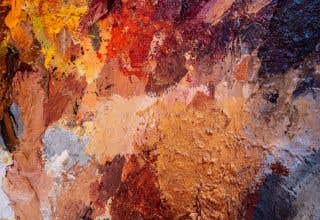
Impasto: Impasto involves applying thick layers of paint with a palette knife or brush, creating texture and depth on the canvas. Experiment with different textures and mark-making techniques to add interest and dimension to your painting.
Glazing: Glazing is the process of applying thin, transparent layers of paint over dry layers to alter colour and create luminous effects. This technique allows you to build up rich, nuanced colours and achieve subtle transitions between hues.
Scumbling: Scumbling involves applying a thin layer of opaque or semi-opaque paint over dry layers using a dry brush or soft cloth. This technique adds a delicate, veiled quality to your painting and can be used to soften edges or create atmospheric effects.
Blending: Blending is the process of smoothly transitioning between colours or values on the canvas. Use brushes or blending tools to mix and merge adjacent paint layers, creating seamless transitions and softening edges.
Palette Knife Painting: Palette knife painting involves applying paint directly onto the canvas using a palette knife, creating bold, expressive strokes and textures. Explore the versatility of palette knives to add dynamic energy and movement to your artwork.
As you practise these essential techniques, remember that patience and perseverance are key. Each stroke of the brush and layer of paint contributes to your growth as an artist, so embrace the process and enjoy the journey of mastering the art of oil painting. If you're looking for more advanced techniques to master, check out this article.

Cleaning Up Safely: Protecting Your Health and Workspace
After a productive painting session, it's essential to clean up safely to maintain a healthy environment and preserve your materials. Here are some tips for safely cleaning up after oil painting:
Ventilation: Ensure adequate ventilation in your workspace by opening windows or using a ventilation fan. This helps to disperse any fumes from solvents and mediums, reducing your exposure to harmful chemicals.
Solvent Handling: Handle solvents, such as mineral spirits or turpentine, with care. Use them sparingly and avoid prolonged skin contact or inhalation of fumes. Dispose of used solvents properly according to local regulations.
Cleaning Brushes: Clean oil paint brushes thoroughly with solvent to remove paint residue. Wipe brushes on a rag or paper towel until no more colour transfers. Follow up with soap and water to remove any remaining solvent residue, then reshape the bristles and allow the brushes to air dry.
Palette Cleanup: Scrape excess paint off your palette with a palette knife and wipe it clean with a rag or paper towel. Avoid washing oil paint down the sink, as it can contaminate waterways. Instead, use a dedicated container for disposing of paint waste.
Protective Gear: Wear gloves and aprons to protect your skin and clothing from paint and solvent exposure. Consider using barrier creams or hand wipes to help remove paint from your hands and minimise skin irritation.
Storage: Store oil painting materials, such as solvents, mediums, and rags, in a well-ventilated area away from heat sources or open flames. Keep containers tightly sealed to prevent spills or leaks.
Cleanup Routine: Develop a cleanup routine that becomes second nature after each painting session. By establishing good habits, you can maintain a clean and safe workspace for future projects.
By following these guidelines, you can ensure a safe and efficient cleanup process after oil painting, allowing you to focus on your artistic practice with peace of mind. For a comprehensive guide on effectively removing oil paint from brushes, we highly recommend delving into this article for a more thorough explanation.
Hopefully you've learnt some oil painting techniques for beginners. Ready to start working with oil paints? If you need further guidance or you want to check out our range of oil painting supplies, come and see our friendly staff in store. Many of our staff are artists themselves and they are always happy to share their expert knowledge.
Related Articles
|
|
|
|
|
-
 Winsor & Newton Liquin Original MediumsFrom $30.75
 -
 Winsor & Newton Refined Linseed OilsFrom $22.50
 -
 Art Spectrum Artists TurpentineFrom $12.55 $13.95
 -
 Winsor & Newton Artists' Oil Paints 37ml
From $18.50 $24.95
-
 Winsor & Newton Winton Oil Paints 37ml
$11.75 $15.75


